Imagine being able to create your own personalised advanced AI tool like GPT, all without writing a single line of code. Sounds too good to be true, right? Well, it’s not! OpenAI‘s GPT Store is now in full swing. Over 2 months ago they announced GPTs. In this blog post, I’m going to walk you through the process of creating your own custom GPT. Whether you’re an entrepreneur looking to leverage AI for your startup, a teacher aiming to bring AI into the classroom, or just an AI enthusiast, being able to make your own custom chatbot gives you the accessibility, regardless of their technical background. By the end of this guide, you’ll be able to create, customize, and deploy your very own GPTs.
Before we dive into the process of creating your custom GPT, it’s essential to have a clear plan in mind. This isn’t about the technical aspects, but about the purpose and application of your GPT. Here are some questions you should consider:
- Purpose: What is this GPT for? Is it designed to solve a specific problem or issue? Or is it for more general use?
- Application: Will your GPT be performing specific tasks for specific jobs? Or is it intended for more trivial uses?
- Audience: Who will be the users of your GPT? What are their needs and how can your GPT meet those needs?
By answering these questions, you’ll have a clearer idea of what you want your custom GPT to achieve. This will guide you in the creation process and help ensure that your GPT is tailored to your specific needs and goals.
Let’s get started!
Opening up your GPT Plus page and from the menu on the left select Explore GPTs

Once selected the explore GPTs, the landing page for the GPT Store will open up, this is like the app store for GPT‘s. This will showcase the GPT Library and the highlighted GPTs of the week.
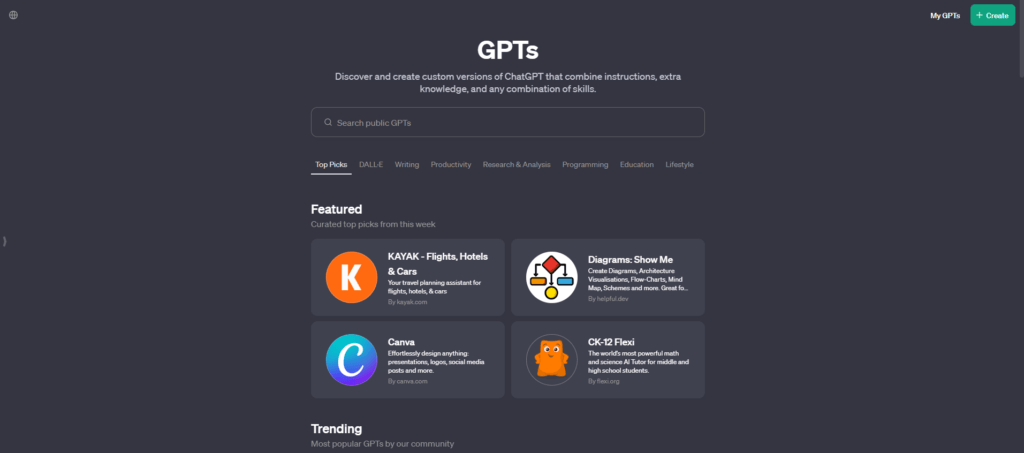
On the top right of the GPT Store page are two buttons, you will select the +Create option.
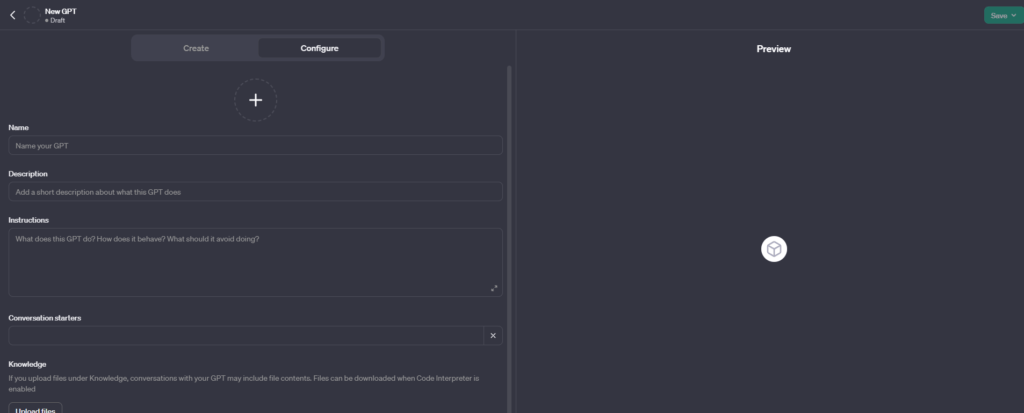
This is the where you will create your own custom GPT according to your specifications and needs. As you can see the text boxes are designed for an easy to fill step by step process.
This is why I suggested earlier that you should have a clear plan in mind when creating your own custom GPT as this will require for you to provide a description and introduction for your GPT. You can be as vague or as detailed as you want but in my experience the more detailed your instructions the better your GPT will operate.
My latest GPT is FinePrintGPT this is designed to analyze & summarize any fine print text it is given. I am going to show you step by step how I created this custom GPT. I had a plan in place before I started so this made the creation stage faster than it took me the first time I created a custom GPT.
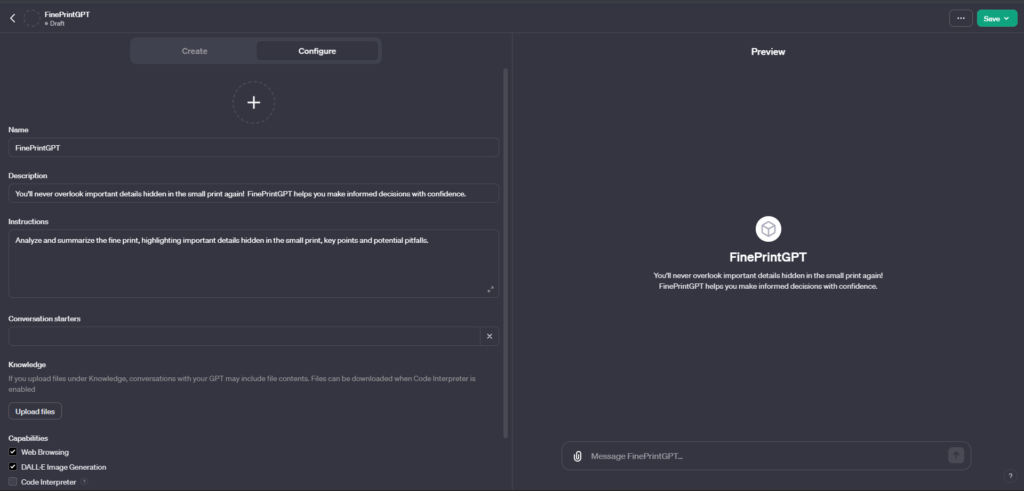
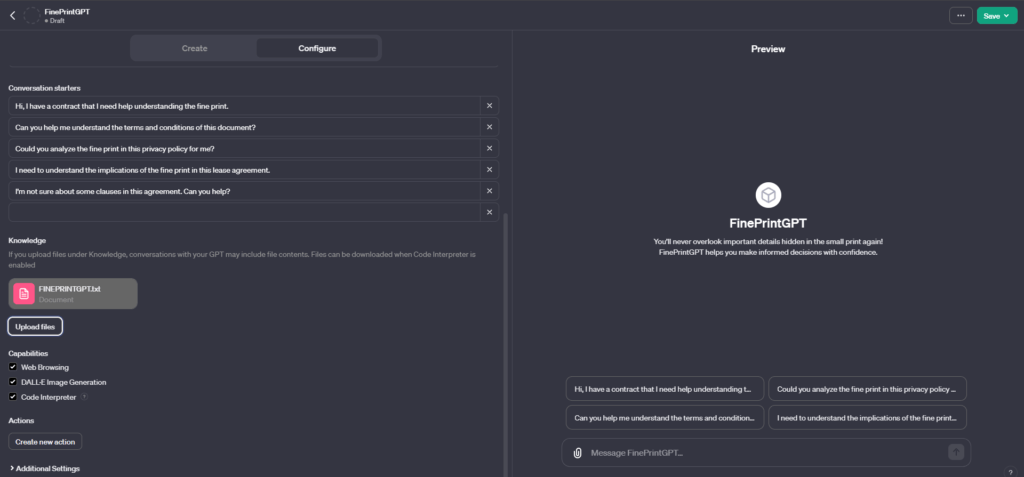
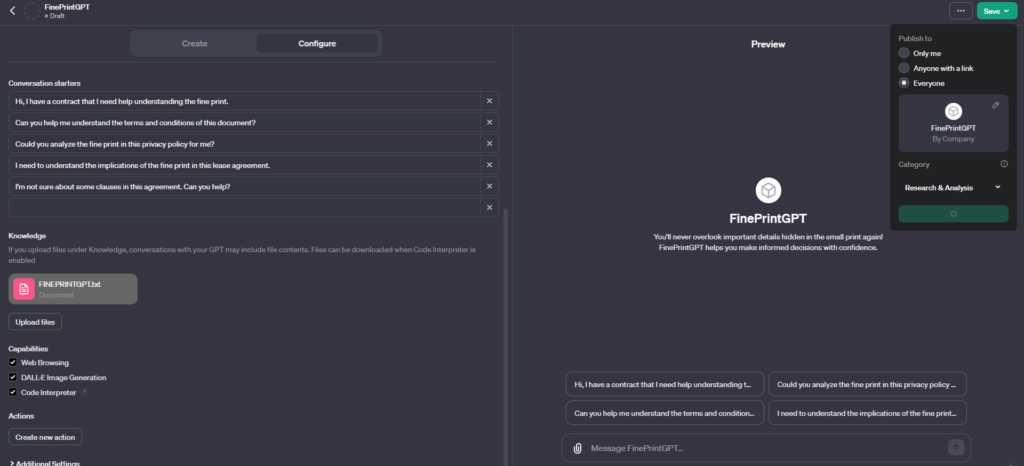
As you can see in the image, ChatGPT gives you the option to add starter conversations to your custom GPTs. I added sentences like: ”Can you help me understand the terms and conditions of this document?” The conversation starters will be listed as options at the start of each new chat.
There is a ‘Knowledge‘ feature which allows you to allows you to upload files that provide additional context for your GPT to reference.1 This can be avoided, but if you don’t mind getting a bit more technical then click on ‘CodeInterpreter’ which will allow you to download the files. Based on the type of file & data you upload the performance may vary; file formats include .txt, .json, .xlsx, and .htm.
By uploading your files to be used, when asked a question or given a prompt, your custom GPT can refer to the uploaded files to provide a more informed and accurate response.2 After this you can go to the save button on the top right of the page. This will open a drop down menu which gives you the option to publish: I suggest you choose ‘everyone‘ so that it becomes instantly available on the GPT Store.
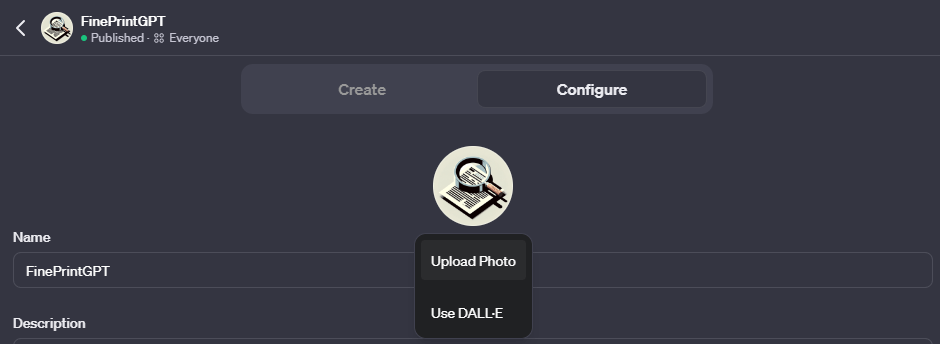
I used DALL.E suggestion for my GPT Image, if you have a photo in mind then you can always upload your own. As seen below…
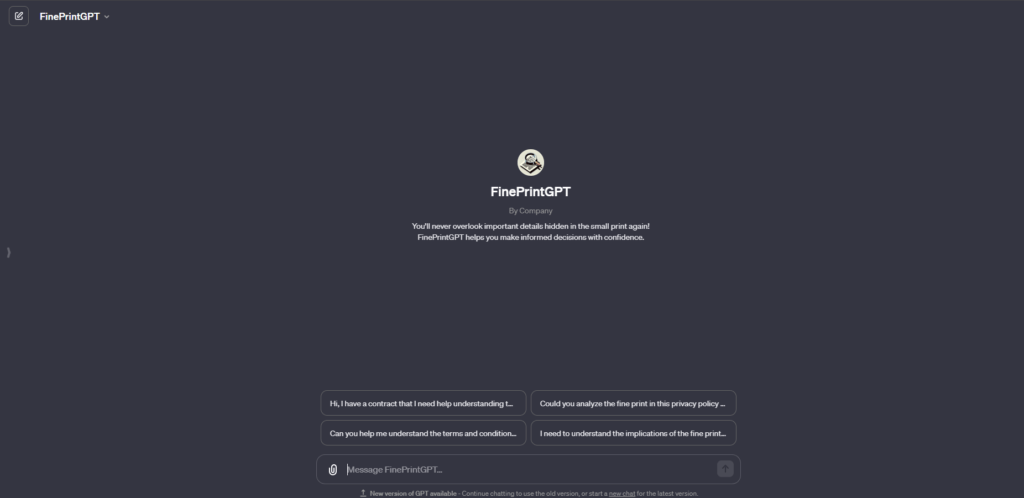
After I have saved and published my custom GPT, here is the finished look.
If you would liked this post, please feel free to check out the rest of my blogs on Trishoya.com or check out my socials below.

Leave a Reply